This job was a little outside our usual scope of work, but it was an interesting job that we could do. These new homeowners wanted to change the closet system in their master bedroom. A previous owner of this house built a wall of closets that was convenient for them, but these new owners wanted something different.
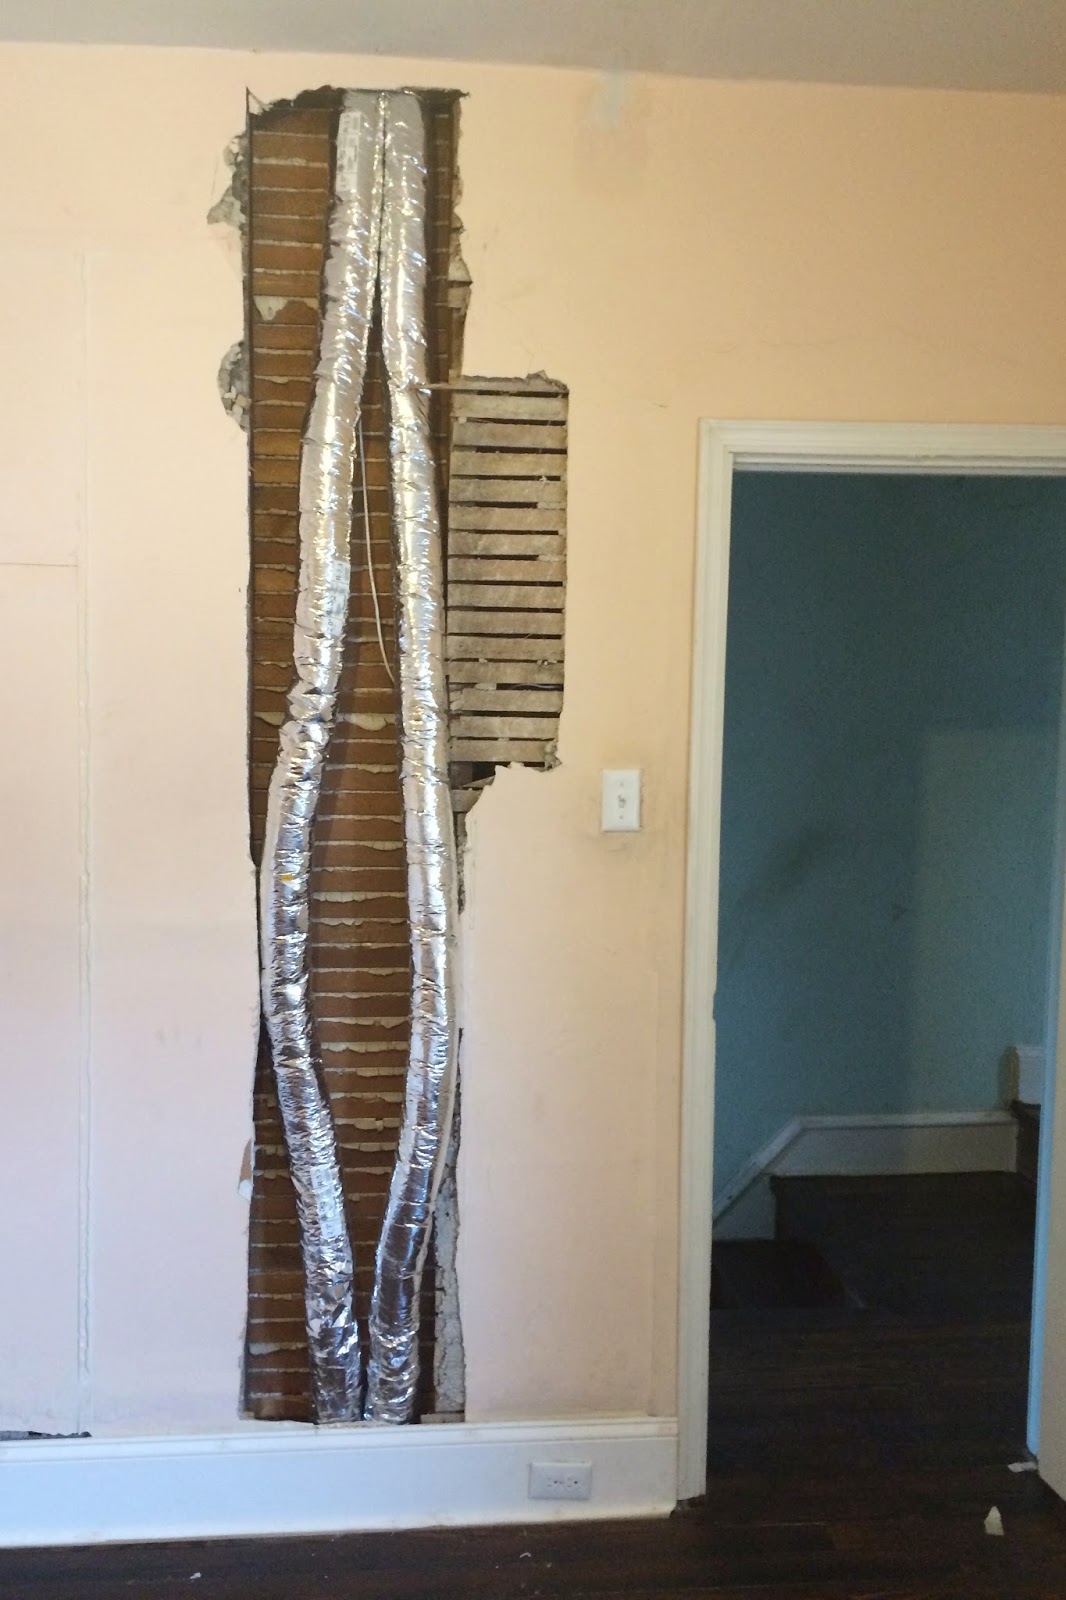
The new homeowners wanted us to take out the double doors and the closet on the right, so we did. When we were done the demo, it looked like this.
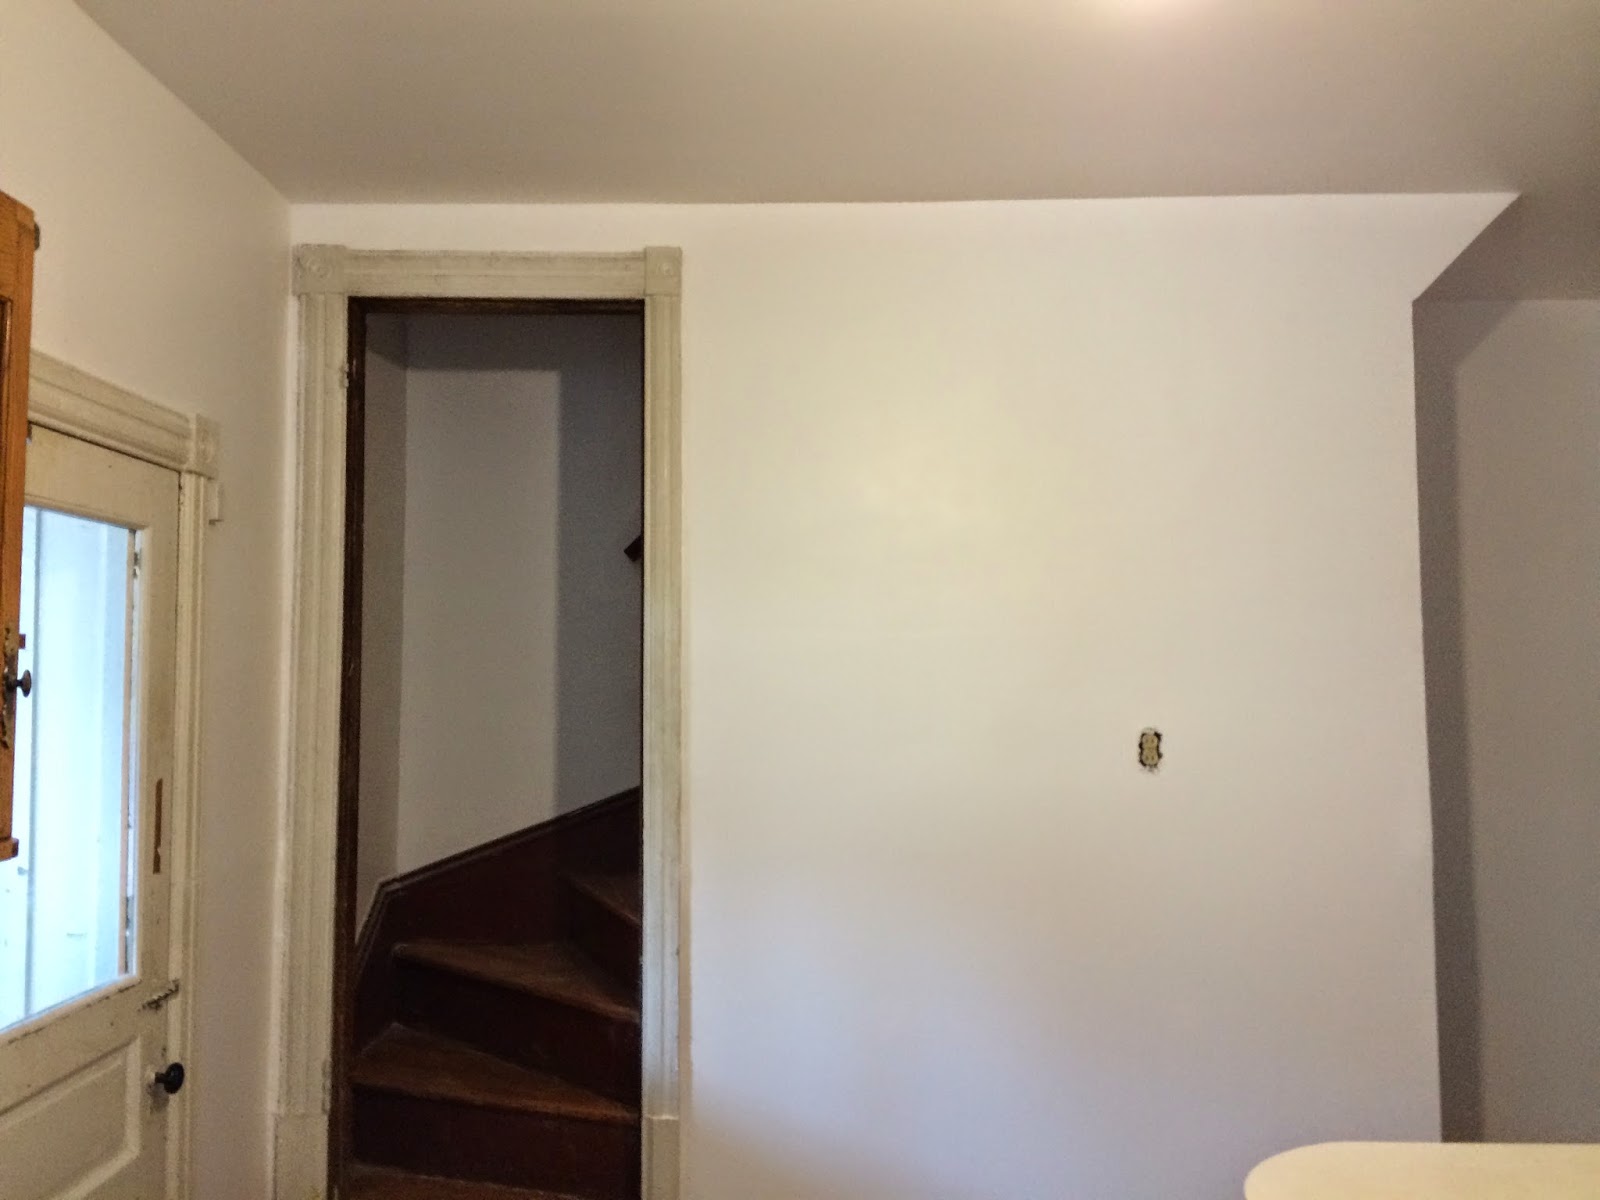
There was plaster on some of the brick and the ceiling over the old closets came down. One plaster wall on the left also came down. We added furring strips to the brick wall and reframed the ceiling. Then we installed new drywall, added baseboard to the sides, and installed some crown molding. The final result looked like this...
Unfortunately, we were not able to prime and paint the area, so this is the final photo I got. However, you can see the amount of work we put into this.
October 2, 2014
August 27, 2014
The Painting of an Entire House #9 with some extras
This was the largest project of the year (to date). It started as a routine "Repair and Paint" project, but after their electrician and HVAC people finished their work, this turned into something much larger. The easy part was repairing all of the electricians work. The new air conditioner system was the challenge. We remained flexible while moving forward with all of the changes and additions to the work. It took two weeks for four of us to complete this work.
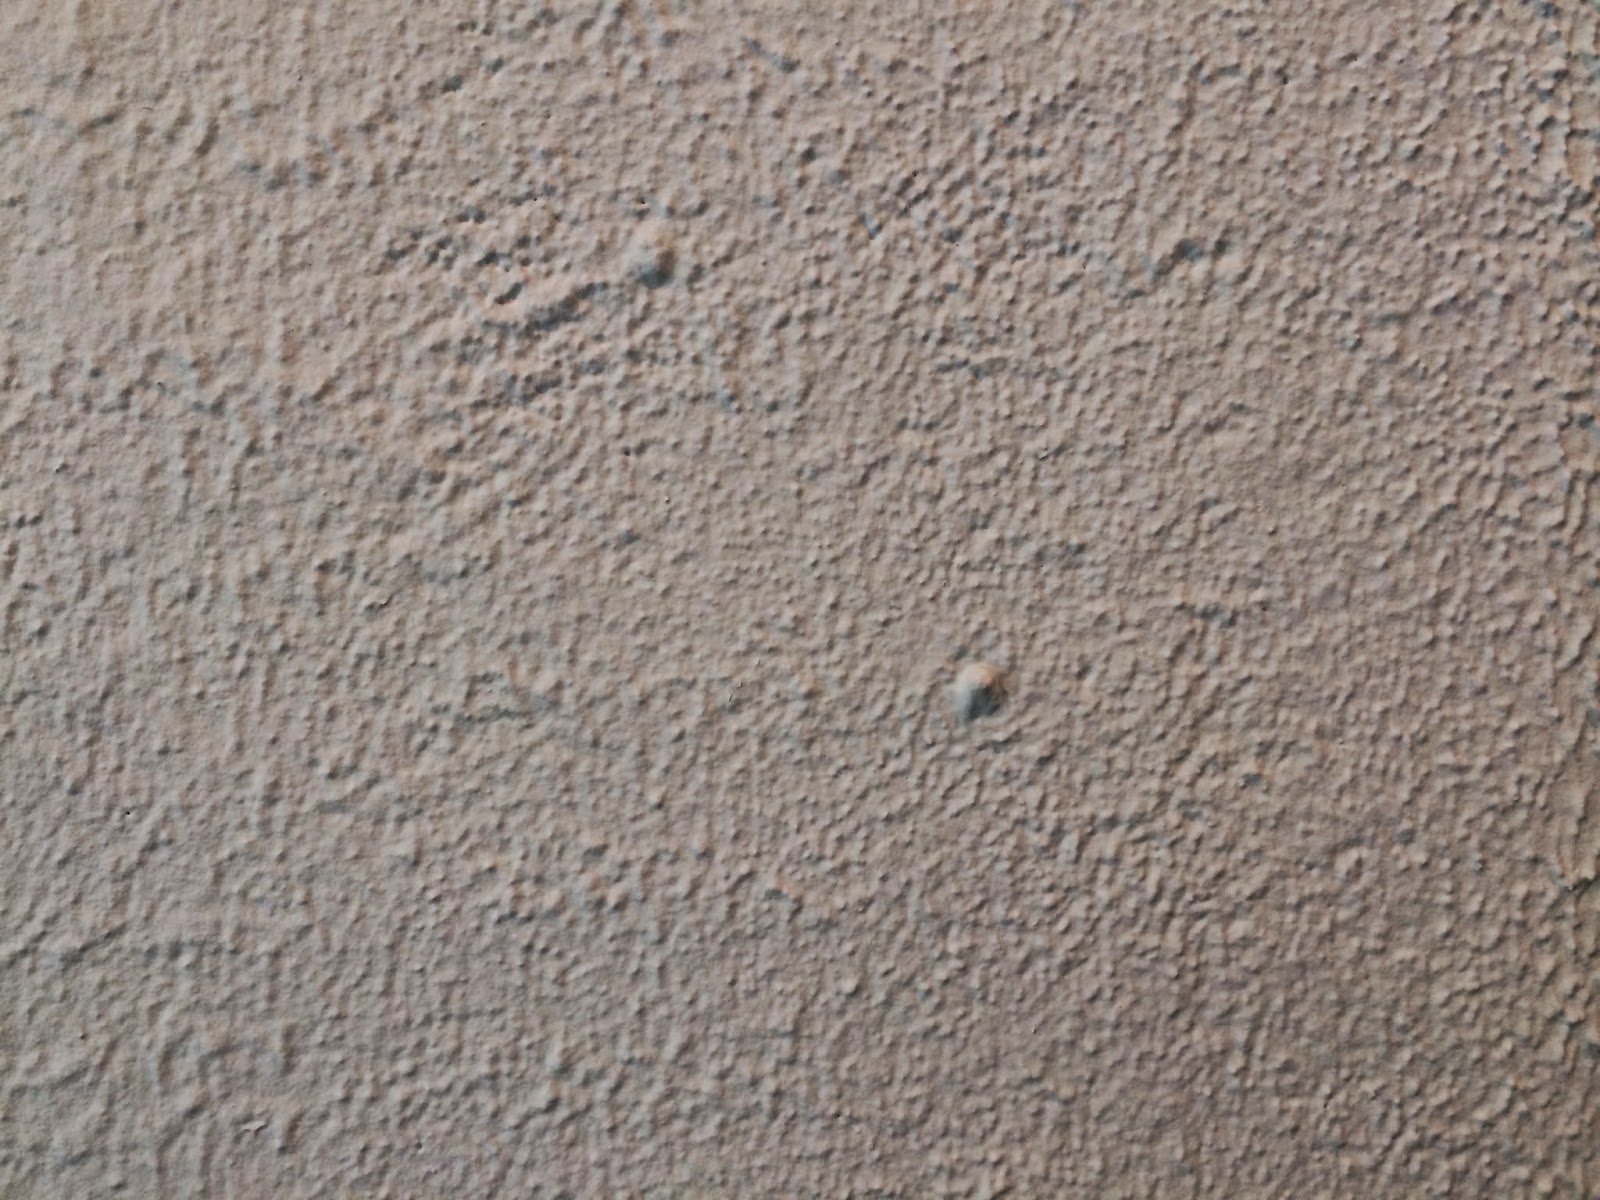
Many of the walls looked like the one below. Part of the original job was to do this extensive plaster repair.
We were also asked to paint all of the radiators in the house
Another original part of the estimate was to make their staircase turn from blue and damaged to a beautiful white.
At the 11th hour, we were asked to make soffits for the exposed air conditioner tubes. The new homeowners did not expect to have to do this, so we had to make the soffits as small as possible while fitting into the existing 150 year old house.
The HVAC people were nice enough to feed this one through the plaster wall
We had to extend the walls and match the baseboards for these two sets of tubes


Many of the walls looked like the one below. Part of the original job was to do this extensive plaster repair.
We were also asked to paint all of the radiators in the house
Another original part of the estimate was to make their staircase turn from blue and damaged to a beautiful white.
At the 11th hour, we were asked to make soffits for the exposed air conditioner tubes. The new homeowners did not expect to have to do this, so we had to make the soffits as small as possible while fitting into the existing 150 year old house.
The HVAC people were nice enough to feed this one through the plaster wall
We had to extend the walls and match the baseboards for these two sets of tubes
The wallpaper you see next to these tubes was actually under some severely textured surface. We had to remove the wallpaper under all of the plaster texture and apply 2 skim coats of joint compound to get a good looking wall. You can't really see that below, but you can see the wall extension and new baseboards
This was the biggest challenge of the project. The HVAC people put this giant tube right up to the ceiling creating a need for a very large soffit. After the homeowners pleaded with the HVAC contractors, the were able to stuff the rear portion of the tube in the ceiling. However, we still needed to create the smallest soffit possible so the ceiling was not reduced by 16".
With some creative thinking, we dug a channel into the ceiling and were able to squeeze the tube into the soffit you see below. Take note of another vertical soffit in the rear. The baseboards matched perfectly.
June 13, 2014
Kitchen finishing
The owners of this West Philadelphia house had some work done in their kitchen several months ago, but never got around to finishing it. They had their ceiling reframed and new lights installed, but never took care of the wallpaper or the finishing of the ceiling. The kitchen just needed us.
The drywall installers spackled over the wallpaper, so that had to be removed. There were also dry erase boards attached to the wall. After removing them, we found that tiles were removed behind them with the mortar still in place.
We removed the dry boards with the mortar and plaster behind them while removing the wallpaper everywhere else in the kitchen. Then we repaired the walls, primed painted, added new baseboards (not pictured), and painted everything white.
The drywall installers spackled over the wallpaper, so that had to be removed. There were also dry erase boards attached to the wall. After removing them, we found that tiles were removed behind them with the mortar still in place.
We removed the dry boards with the mortar and plaster behind them while removing the wallpaper everywhere else in the kitchen. Then we repaired the walls, primed painted, added new baseboards (not pictured), and painted everything white.
Removal of Texture
At some point in the history of this South Philadelphia house, some one decided that it would be a good idea to cover the walls of the living room with a thick heavy texture. It looked like this all of the room...
The wife and children went out of town for a week and we got to work. The idea was to scrape the high points off then skim coat the room with some joint compound. However, this texture was made of mortar or heavy plaster, and it did not come off easily. The wall section under the stairs had some wallpaper under the texture. So, the paper came off with the texture. That small area was not a problem at all.
However, the other walls were not so easy. We tried to remove the texture with very little success.
So, after 2 complete skim coats all of the walls in the living room, sanding, priming and painting, it looked like this...
The wife and children went out of town for a week and we got to work. The idea was to scrape the high points off then skim coat the room with some joint compound. However, this texture was made of mortar or heavy plaster, and it did not come off easily. The wall section under the stairs had some wallpaper under the texture. So, the paper came off with the texture. That small area was not a problem at all.
However, the other walls were not so easy. We tried to remove the texture with very little success.
So, after 2 complete skim coats all of the walls in the living room, sanding, priming and painting, it looked like this...
May 8, 2014
Deep Space and Chalkboard
I worked for this family a long time ago. I did some work on their front door and painted the two rooms on their 3rd floor. This time, they wanted me to paint their 2nd floor.
Some people contact me and just want their house painted. They really don't know what they want, what colors to use, or how to create a space. This is fine. Not everyone is good at it. This woman, however, had a vision and did not compromise it at all.
Her son's room was scuffed up, the baseboard was missing in some places, there were nail holes all over the ceiling and walls, and it needed some new life. She showed me a picture from a design website and wanted what she saw. So, we made the ceiling and the top 2/3 of the wall one off-white color. We covered the bottom portion of the wall with chalkboard paint, even the closet. She did not necessarily want her son drawing on the walls. She just liked the look and the durability of it. I had the chalkboard paint color matched for the trim. So, the door frames were the same color as the chalkboard paint, but in a standard semi-gloss product. We made the line go right over the trim.
| Before |
| After |
| Before |
| After |
| Before |
| After |
Kitchen Makeover
I know that is has been quite some time since I updated this site. The winter was filled with rather uninteresting jobs. I patched a lot of holes due to water and ice damage, painted several rental units, and simply forgot to take pictures of the other jobs. Now, that my busy season is starting up, I am engaged in more interesting projects and can get photos worthy of updating this blog.
The people in this house did not want a full upgrade of their kitchen, but needed to clean it up and make it look nicer. The walls had a lot of texture (which you cannot see in the pictures) and were rather dirty from years of use. Beautiful, old, hand-made built-in cabinets were also rather worn, and the hinges were caked with paint. The homeowners wanted it clean and nice.
Here are some pictures of the kitchen as it was when we got there
After repairing and skim coating the walls, painting the ceiling, stripping the cabinet hardware, and painting the cabinets and trim, the kitchen looked wonderful, bright, and clean.
The people in this house did not want a full upgrade of their kitchen, but needed to clean it up and make it look nicer. The walls had a lot of texture (which you cannot see in the pictures) and were rather dirty from years of use. Beautiful, old, hand-made built-in cabinets were also rather worn, and the hinges were caked with paint. The homeowners wanted it clean and nice.
Here are some pictures of the kitchen as it was when we got there
After repairing and skim coating the walls, painting the ceiling, stripping the cabinet hardware, and painting the cabinets and trim, the kitchen looked wonderful, bright, and clean.
January 4, 2014
Wallpaper Removal #4
This job was a wonderful transformation. We removed the wallpaper from the ceiling and walls from a 3rd floor hallway. As we were doing it, several areas of plaster simply came down with the paper. So, there was a lot of major repair involved here. Then we painted everything - ceiling, walls, baseboards, chair rail, spindles, and the entire 2nd floor, as well. Take a look at what we did. (I promise to bring my real camera next time. These iphone photos don't really do justice).
Subscribe to:
Posts (Atom)