March 29, 2015

Room Rehab

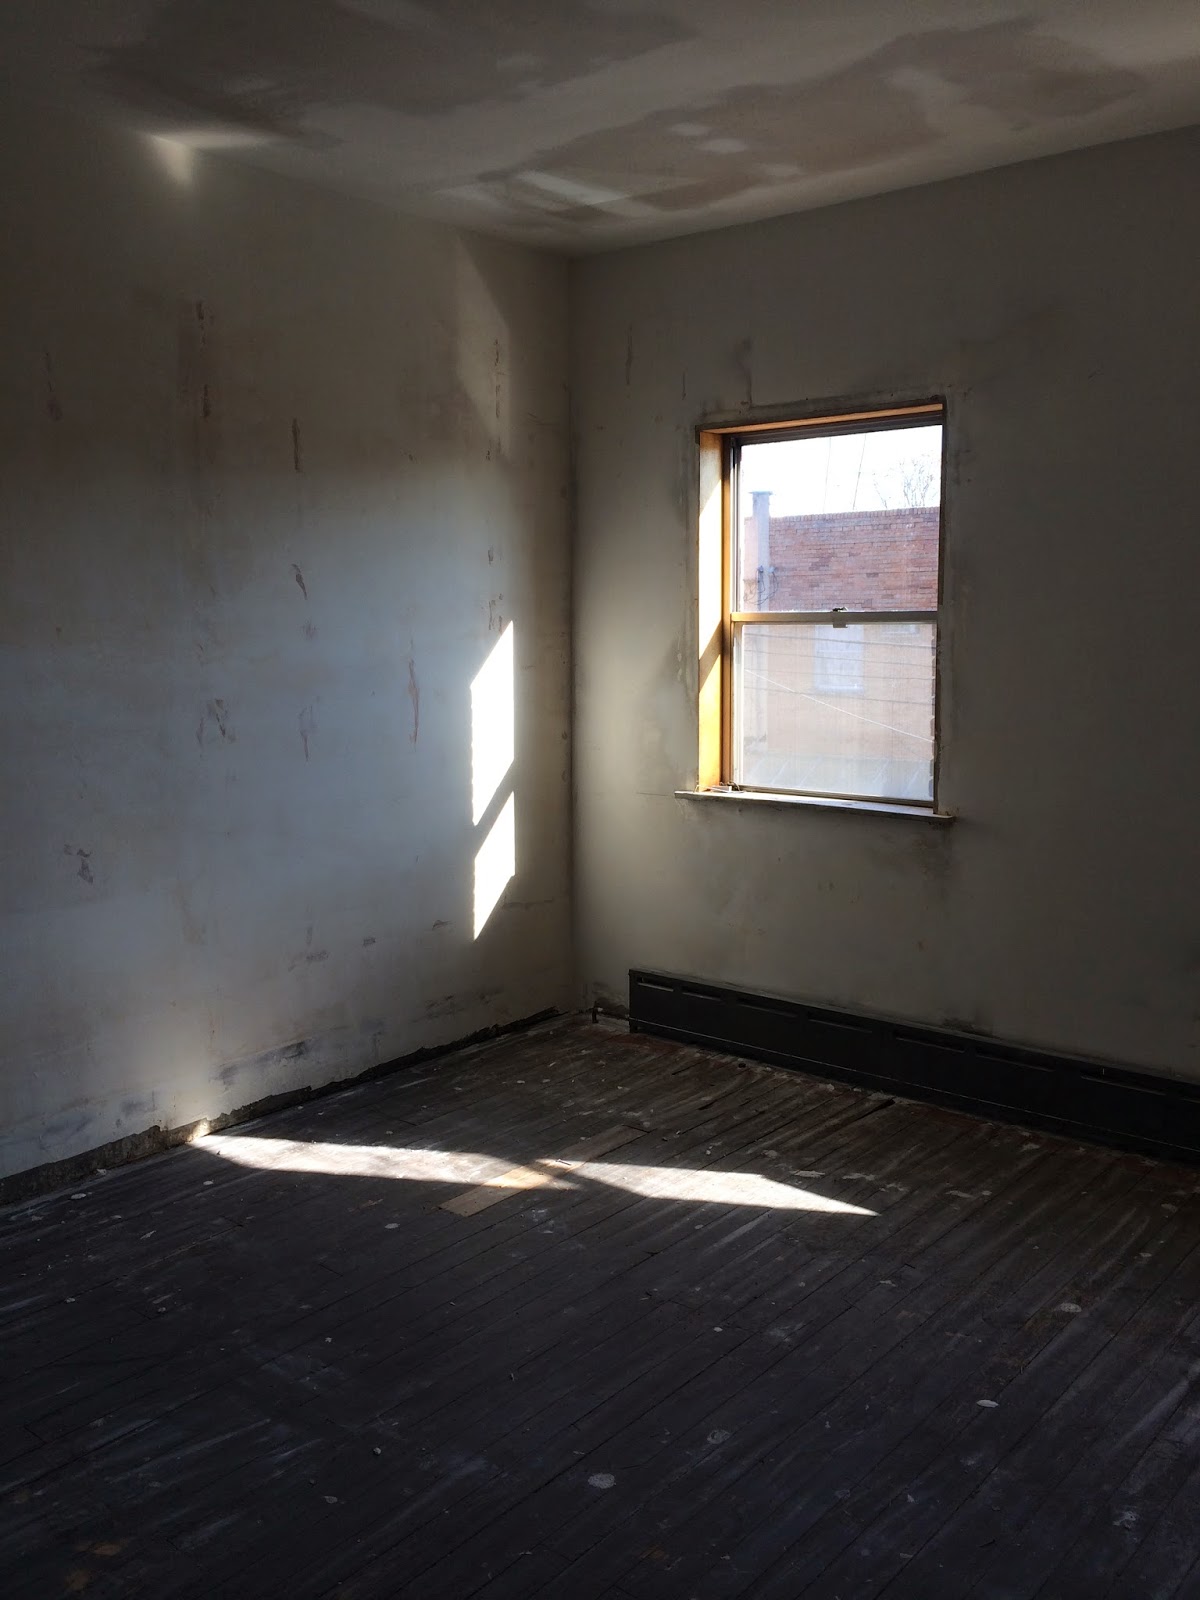
When we started the work in this West Philadelphia house, we found a mostly unusable/inhospitable room in the rear of the 3rd floor.  It was a simple painted brick room with an old carpet.  The bricks were peeling, there were no overhead lights, very few electrical outlets, and it did not feel very comfortable.  The homeowners had recently installed some new windows on the north side of the room, and wanted us to make it into a functional bedroom. 

Here is what the room looked like when we found it.  There were a few plants, a couple of lamps, and an Ikea futon in there, but nothing else.  It was an interesting room that seemed like an addition.  The old slate siding and a nice door entryway were still there.  Also, the kids who lived there had some fun writing on the bricks before we started, and someone spent too much time making a checkered pattern on the one drywall portion of the area.

East

North

South

West
We started by tearing up the edges of the carpet so we could frame.  The owners wanted to keep the mansard roof exposed, so we framed 3 of the walls.  There were some odd angles in the corners at the west side, so we had to be a little creative.  When finished the framing, an electrician came in.  He installed some LED recessed lights and 5 outlets.

East

North

South

The next step was for us to insulate and drywall all of the framed areas. Images of un-primed and un-painted drywall are not very interesting, so I only have one here.

South
The final step took the longest.  We installed baseboards, window sills, window trim, and repaired the old "entry" into the rest of the house.  Then we primed and painted the entire area, including the slate.  They chose 3 complimentary colors for the walls, a flat white ceiling, and white trim. The homeowners had a new carpet and cast iron radiator installed after we were done.  I was able to take the final photos when I returned for some other work and before they moved in any furniture. 

East

North

South

West
I am particularly proud of this work as we made a huge improvement to this space. 

March 15, 2015

Decorating Advice From Other Sources

If you find that picking whites or accent colors to be difficult, I recommend that you check out these two articles from Houzz.

What To Know Before You Paint Your Walls White

How To Pick The Perfect Accent Color

How to Decorate Your Staircase

Updating

These homeowners lived in their house for over 30 years and have done very little to the walls over the past 20 years.  These retired folks in their 70s decided that they were not moving or down-sizing any time soon, and they wanted to update a few rooms of their house.  They contacted me 4 years ago, and they were finally ready to get the work done.

The first thing they wanted done was to have their living room painted.  As usual, I requested a color list ahead of time so I could be ready on the first day.  Shortly after we got started, they left us alone.  When they returned a few hours later, they hated the color they chose.  So, we helped them meet their vision.

Below are 2 angles of their living room.  They cleared all of the book shelves and took all of the pictures off the walls so we could paint everything.  We painted the ceiling, walls, book shelves, louvered doors, windows, and all trim.  After making their room pink with their original color choice, we returned it to neutral.  The walls were a nice beige with a darker hue on the trim.

Before
After

Before

After 

 We also painted everything in their dining room.  After the wallpaper was removed, we painted the ceiling, walls, all trim, and the built in closets.  They needed our color consulting in this room, as well.  The homeowner was very pleased with the results.

Before

After

I neglected to take "before" pictures of the kitchen, but there were many severe nail pops in the ceiling.  So, we painted everything in that room too.The homeowner did a great job picking this color on her own.  We based the other colors in the house on this one. 


Here is a photo of all 3 rooms that we painted.  We helped her make all of them flow together in the same color family, but have different individual palates.


It is a rare occasion that my crew and I get a hug from the homeowner.  This lady was so pleased that she hugged all of us.  We did quite a transformation of these rooms, and she was more than pleased.


November 26, 2014

Room Renovation

The parents of the current owner of this house bought it in 1955. After growing up in this house, moving out, and moving back in as an adult, she figured it was time to do some major renovations.  She started with the bedroom and guest bedroom.

We removed the drop ceiling, wood paneling, all woodwork, and linoleum floor.  After installing new drywall on the ceiling and skim coating the walls, we painted everything.  We did not put up any new trim, because she is getting new bamboo floors installed.  That has to be done before the trim.  I feel like this is an unfinished project, but our role is done for now.  If I wind up doing to the trim work, I will update this post.

I have 4 pictures of this project from two different angles.  We did two different rooms, but I am showing you two angles of the room with more light.


This is how the room looked upon our arrival


This is after we removed the ceiling tiles/tracks, wood paneling, trim, linoleum floor, and an extreme amount of trash.

This is with new drywall on the ceiling and the walls skim coated

This is the primed and painted room. 

After this point, the homeowner got new floors and baseboards installed by someone else.  I was not able to return to show the final results. This does look like an unfinished project here, but I'm sure you can see how much we did.

October 19, 2014

Post Wood Paneling Era

There was a time when wood paneling was all the rage in the Philadelphia area.  Fortunately, those days are long gone, and these homeowners finally did something about it.

The true nature of this project was that they had a leak from above that damaged the ceiling, walls, and carpet in their basement.  So, they hired us to take the remaining paneling off the walls, re-insulate, hand drywall, repair the ceiling, install new trim, and paint the entire thing.  It took us 4 days to get it done, but it went from dark and dated to fresh and new rather quickly.

I am sharing 3 views of the same room. The "before" pictures were taken while we were removing the remaining paneling. They were also getting a new carpet and told us not to worry about it, so please pay no attention to how we destroyed it ever further.  

Before

After

Before
After

Before

After


October 7, 2014

The Painting of an Entire House #9

First of all, the title of this post suggests that this is the 9th time we painted an entire house.  I want to assure you that we have painted many more than 9 entire houses this year.  This is just the 9th time that I chose to take some before and after pictures and share them with you. 

Even though we painted this whole house, I only have pictures of one room.  Of course it is the most impressive room that I wanted to show.  It shows everything that you need to see.  It is also 2 angles of the the same room.  The "before" pictures show how we prep the furniture and cut in the edges.  You can also see the repairs we made on the ceiling and walls.  I assure you that we covered the floor with drop cloths shortly after I took these pictures.

The previous owners of this house chose to put an off-white (almost yellow) semi-gloss paint on the ceiling and the walls.  This new home owner had much better taste and wanted to update the look.  So we got to work and gave the house a fresh and more modern look.

We used very high quality paint from Sherwin-Williams.  The home owner requested that we use the  Duration line of paints with a matte finish on the walls and Pro-Classic on the trim.  We also used the ultra flat white ceiling paint, called Eminence. 


October 2, 2014

Closet Rebuild

This job was a little outside our usual scope of work, but it was an interesting job that we could do.  These new homeowners wanted to change the closet system in their master bedroom.  A previous owner of this house built a wall of closets that was convenient for them, but these new owners wanted something different.

The new homeowners wanted us to take out the double doors and the closet on the right, so we did. When we were done the demo, it looked like this.

There was plaster on some of the brick and the ceiling over the old closets came down.  One plaster wall on the left also came down.  We added furring strips to the brick wall and reframed the ceiling.  Then we installed new drywall, added baseboard to the sides, and installed some crown molding.  The final result looked like this...


Unfortunately, we were not able to prime and paint the area, so this is the final photo I got.  However, you can see the amount of work we put into this.