November 17, 2015

Wallpaper Removal #5

These folks called me after attempting to remove the wallpaper from their hallway.  It is a task that seems rather straightforward and simple, but it never goes that way.  Below is what their hallway looked like when we got there and started setting up.

The first layer of wallpaper was primed and painted the pale green that you see above.  The second layer was thick and textured.  It was, essentially, 2 layers on its own.  So, I am not surprised that the homeowners stopped where they did.

We got to work and made a big mess...


We finished removing the wallpaper and thoroughly cleaned up

It turned out that the wallpaper was holding the plaster together as it had since 1942 (the wallpaper installer penciled a note on the wall as his signature).  There were large cracks throughout the walls and several spots like these...


We filled the large holes, applied tape where needed, and skim coated everything to give it a smooth plaster look.


We sanded, primed the ceiling and walls, scrubbed the trim and doors, then painted everything twice.  The final beautiful and updated product is below. 

September 10, 2015

Bathroom Transformation

The owner of this old house in Fitler Square was a very old woman who was tired of her bathroom falling apart.  She had the tile redone a few years ago, then the wallpaper in the bathroom started to peel off.  This is what it looked like when we arrived.


It had simply been too long since anything was done.  The paper was falling off the ceiling and the walls.  There was no ventilation in the bathroom, and everything was crumbling.  The plaster wall in the shower was also crumbling.  

After stripping the wallpaper, replacing some plaster with moisture resistant drywall, skim coating the rest of the ceiling & walls, and painting the entire thing, it looked wonderful.  The room was really transformed into something nice.


The homeowner was more than delighted.  She even sent me a letter stating that she had trouble believing it was her own house.

Closet Construction

We finished this project a few weeks ago, but I am just getting to posting it here.  It is another unusual job or us, which is why I took it.  This was a small South Philadelphia home that had undergone many transformations of the years.  Our task was to move a wall in the hallway to square it off, close off a small built-in closet, and construct a new closet.

As you can see below, the hallway was made extremely narrow when someone angled the wall to make space for a closet inside the middle bedroom.  Then then door was moved to the middle of the hall where the handrail was.  

Built-in closet
Hallway
We went to work removing the hallway wall and immediately discovered a problem.  There were structural beams in the wall preventing us from going according to plan.  The door was supposed to stay in the same space, but we could not leave it there.  It had to move to it's original location, which was made into the closet, because the studs could not move.   After a brief conversation with the client, she was delighted to move it and have a longer wall inside the room.  The door would also no longer be awkwardly located in the center of the hall.

Inside the room
Hallway
So, we closed off the wall and moved the door.


Inside the room
Hallway
There are still some odd angles and curves in the walls, but that is the result of a 150 year old house.  Regardless, the homeowners were very happy with the necessary changes and the new closet.


The 2nd project in this house was in the same room.  Since we removed the small closet in the corner, the homeowners wanted a real closet with doors.  So, we constructed one.  They wanted maximum access to the inside of the closet (minimal space blocked by the doors) and an area to the side of it where they may be able to put a dresser, desk, or open shelves.  They got exactly what they wanted.

Back wall of room

New closet on back wall


August 12, 2015

Transom and Ikea Hack

These folks in South Philadelphia wanted some interesting changes done to their house.  We painted quite a bit of it, but that is not very interesting for you.

The homeowner found a small leaded glass window in the trash and thought it would look great above her vestibule door.  So, we cut a hole above the door, installed the transom, added some trim, and stained it all to match the rest of the woodwork in the house.


I have heard about Ikea hacks, but never thought about doing one until this home owner asked me to do one.  She bought 3 sets of Billy bookcases at Ikea and asked us to make them look like built-in bookcases in her living room. 


We added 3.5" strips of trim between the bookcases, added some crown molding at the top, and some 1/4 round at the bottom.  You can even see that we cut out the back for an outlet.  When we were done, this really looked built in and not from Ikea.

These were 2 very unusual projects for this painter.  It was nice to do something a little different after painting the rest of their house.  


March 29, 2015

Room Rehab

When we started the work in this West Philadelphia house, we found a mostly unusable/inhospitable room in the rear of the 3rd floor.  It was a simple painted brick room with an old carpet.  The bricks were peeling, there were no overhead lights, very few electrical outlets, and it did not feel very comfortable.  The homeowners had recently installed some new windows on the north side of the room, and wanted us to make it into a functional bedroom. 

Here is what the room looked like when we found it.  There were a few plants, a couple of lamps, and an Ikea futon in there, but nothing else.  It was an interesting room that seemed like an addition.  The old slate siding and a nice door entryway were still there.  Also, the kids who lived there had some fun writing on the bricks before we started, and someone spent too much time making a checkered pattern on the one drywall portion of the area.

East

North

South

West
We started by tearing up the edges of the carpet so we could frame.  The owners wanted to keep the mansard roof exposed, so we framed 3 of the walls.  There were some odd angles in the corners at the west side, so we had to be a little creative.  When finished the framing, an electrician came in.  He installed some LED recessed lights and 5 outlets.

East

North

South

The next step was for us to insulate and drywall all of the framed areas. Images of un-primed and un-painted drywall are not very interesting, so I only have one here.

South
The final step took the longest.  We installed baseboards, window sills, window trim, and repaired the old "entry" into the rest of the house.  Then we primed and painted the entire area, including the slate.  They chose 3 complimentary colors for the walls, a flat white ceiling, and white trim. The homeowners had a new carpet and cast iron radiator installed after we were done.  I was able to take the final photos when I returned for some other work and before they moved in any furniture. 

East

North

South

West
I am particularly proud of this work as we made a huge improvement to this space. 

March 15, 2015

Decorating Advice From Other Sources

If you find that picking whites or accent colors to be difficult, I recommend that you check out these two articles from Houzz.

What To Know Before You Paint Your Walls White

How To Pick The Perfect Accent Color

How to Decorate Your Staircase

Updating

These homeowners lived in their house for over 30 years and have done very little to the walls over the past 20 years.  These retired folks in their 70s decided that they were not moving or down-sizing any time soon, and they wanted to update a few rooms of their house.  They contacted me 4 years ago, and they were finally ready to get the work done.

The first thing they wanted done was to have their living room painted.  As usual, I requested a color list ahead of time so I could be ready on the first day.  Shortly after we got started, they left us alone.  When they returned a few hours later, they hated the color they chose.  So, we helped them meet their vision.

Below are 2 angles of their living room.  They cleared all of the book shelves and took all of the pictures off the walls so we could paint everything.  We painted the ceiling, walls, book shelves, louvered doors, windows, and all trim.  After making their room pink with their original color choice, we returned it to neutral.  The walls were a nice beige with a darker hue on the trim.

Before
After

Before

After 

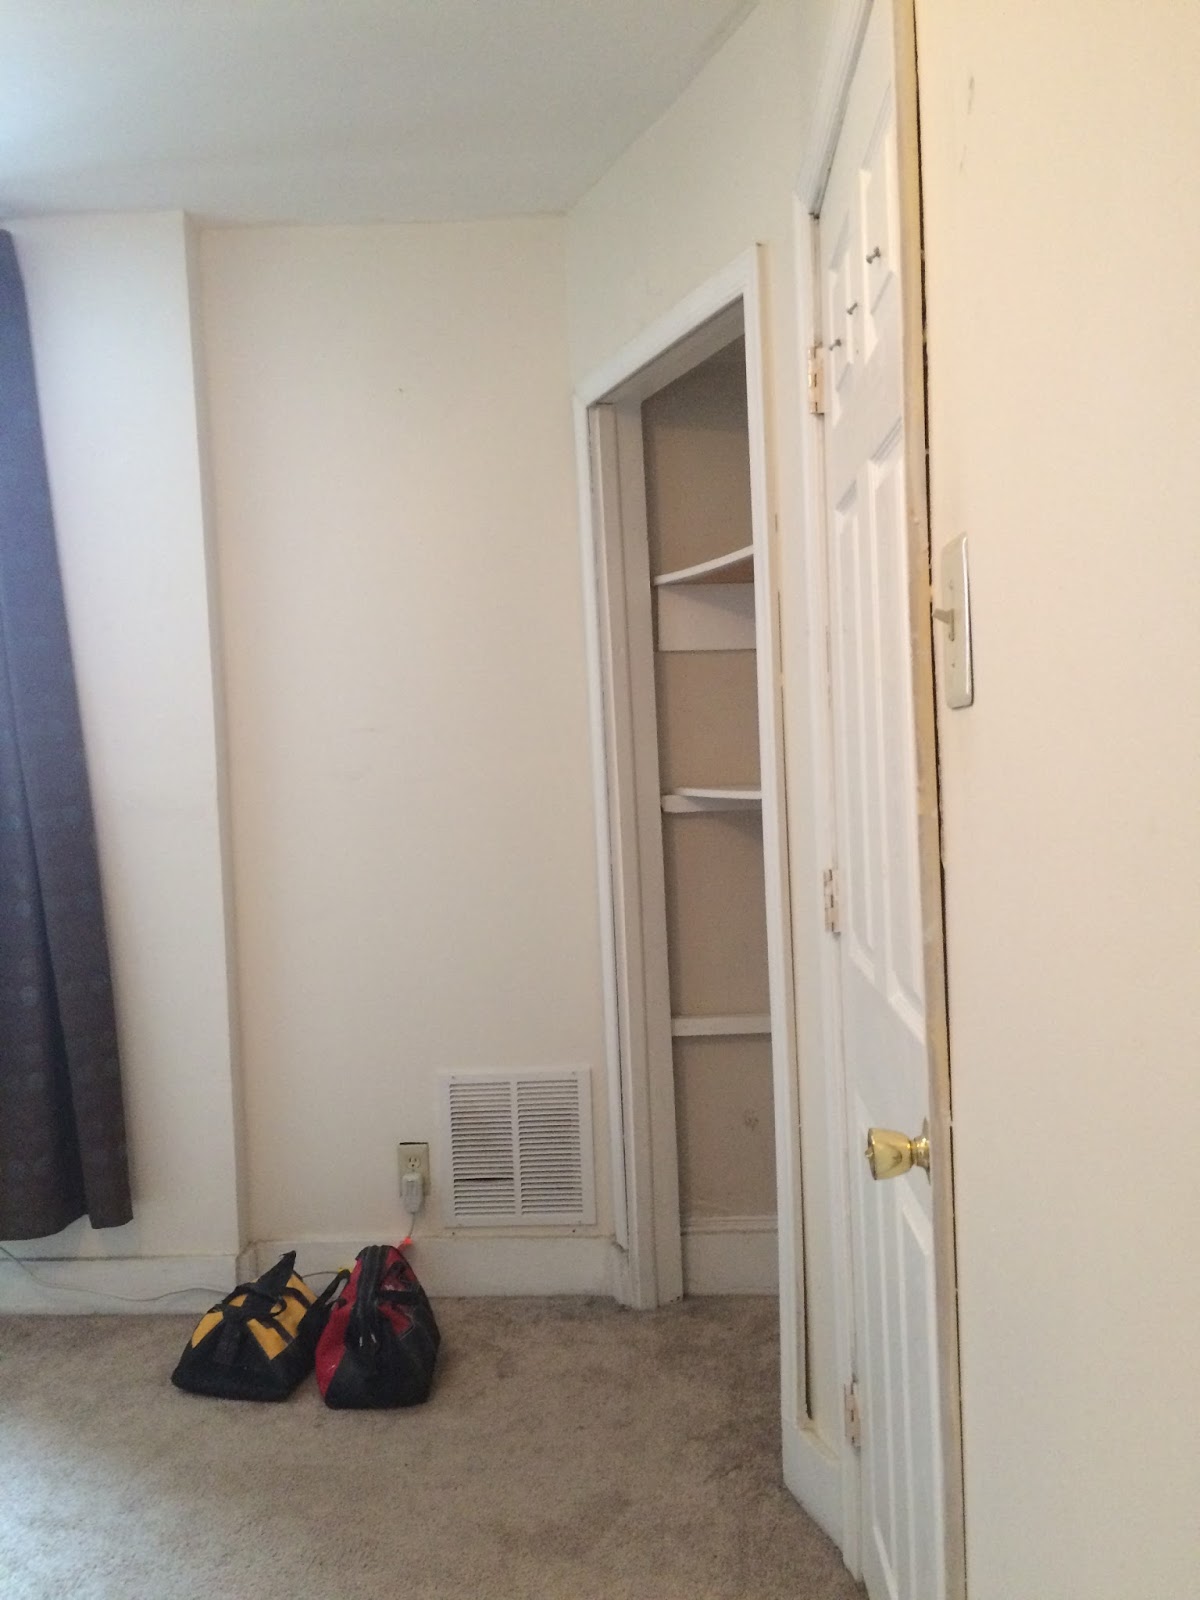
 We also painted everything in their dining room.  After the wallpaper was removed, we painted the ceiling, walls, all trim, and the built in closets.  They needed our color consulting in this room, as well.  The homeowner was very pleased with the results.

Before

After

I neglected to take "before" pictures of the kitchen, but there were many severe nail pops in the ceiling.  So, we painted everything in that room too.The homeowner did a great job picking this color on her own.  We based the other colors in the house on this one. 


Here is a photo of all 3 rooms that we painted.  We helped her make all of them flow together in the same color family, but have different individual palates.


It is a rare occasion that my crew and I get a hug from the homeowner.  This lady was so pleased that she hugged all of us.  We did quite a transformation of these rooms, and she was more than pleased.