November 26, 2012

A (Major) Cleaning #4

In 1982, gas was $0.92 per gallon, Israel returned Sinai to Egypt, the first issue of USA Today was published, the first CD player was sold, Michael Jackson released Thriller, and this house was most recently painted.  That is, until last week.

The work we just finished in this suburban house included the most prep we have ever endured.  The paint was peeling and cracked just about everywhere.  There were water stains and large cracks on the ceilings, the baseboards were abused, the baseboards and all woodwork was discolored with age, and not a single door closed properly.  My team and I were brought in to spend 9 days bringing this house back to life with a major cleaning.

I had to stop myself from taking pictures of every wall in this 3 bedroom house and posting them here.  Instead, I am summarizing the condition of the house with these selected photos.  Keep in mind that the entire house looked somewhat like the following 3 examples before we did any repairs.

A bedroom before
After


Hallway before
Hallway after
A wall in the living room before
After
Prior to us starting this work, the homeowner had her own preparations to do.  When she took the pictures down from the dining room wall, she realized that the wallpaper had to go.  So, we added it to the list of things to do.  I think it was a good idea.  After painting the ceiling, walls, window frames, chair rail, and cabinets, it would have been a shame to leave the wall paper up.

Dining room 1 before

After

Dining room 2 before

Dining room 2 after
Her screened-in front porch also needed quite a bit of work

Front porch before
After

Front porch detail
After


Finally, we cleaned up her basement walls, which were cracked and stained.

Basement before
After
This is the kind of work that is extremely satisfying for me and my team.  We feel like we gave this crumbling old house some new life.

November 11, 2012

A Cleaning #3

When I got to this house for the estimate, the homeowners freely admitted that they have been there for 37 years.  They painted it themselves when they moved in and one other time, but they could not remember when that was.  Since they were getting older, I was told, it was time to think about fixing up the house to sell it or live comfortably in it again.  We only contracted to repair and paint every surface of the living room and dining room, but it was a big task.  They didn't want to change the colors of the house too much.  This was just a cleaning.

Below are 2 examples of the condition of the dining room and what they looked like after the repairs and paint.

Dining Room before #1
Dining Room after #1
Dining Room before #2
Dining Room after #2


The living room ceiling had an old water satin and some peeling paint.  The walls did not have much damage, so I don't have any close up pictures.  I am including these pictures so you can see the amount of woodwork we had to paint, the amount of obstacles (furniture) that we had to handle, and the overall cleaning we did.  
Living Room before
Living Room after
Stairwell before
Stairwell after

When we were done and I sent the invoice, the homeowner wrote back to me stating, "I can tell you that we have been very pleased with your efficiency, clear communication, promptness (including swift response to calls/emails), and I have no doubt that we will be pleased with the work itself--once we get everything back in place."


October 25, 2012

New Molding & Paint


The owners of this house wanted to do some significant detail work to their home before they got married.  The house was in rather good shape, except for a few cracks and a recently plumbing issue, but they wanted a bit more pop in the house.  Plus, they had not painted it since they purchased it.

I know this blog is most effective when you have before and after pictures to see what we did, but I often get to work before remembering to take the picture.  I neglected to take any pictures until we progressed to far into the work.  This post has no "before" photos, but I'm rather proud of this work, so you'll just see the finished product.

First of all, they wanted their dining room to zing a bit more.  The crown molding was small and plain, and there was a chair rail breaking up the wall.  Instead of removing the existing crown molding and adding new and larger pieces, the homeowner came up with a great idea.  We simply added a thin piece of trim below the existing molding and painted the 1" of space between them.  The results make it look like one larger piece.  Then, we painted the walls.

Close up of larger crown molding

The other trim they wanted to add was below the chair rail.  We added the "picture frames" then painted everything from the chair rail to the floor and the newer crown molding to match.  Of course, we painted the walls, as well.

Close up of picture framing below the chair rail
 Here is a photo of the entire space.
Completed dining room
Before we painted their bedroom, we also completed the same extension of the crown molding in their bedroom.  You can see the effect a little better here
Master bedroom crown molding

They also had 2 bedrooms with vaulted ceilings on their 3rd floor.  They were filled with cracks and old beat-up molding.  So we repaired and painted everything in these 2 rooms.


With the final payment, the homeowner sent a note that stated, "The house looks great! Thanks for all of your (and your team's) hard work.  Can't wait 'til we have the $ to finish the rest of the house!"

October 18, 2012

After The Floors Were Refinished


I got a call from a woman who sounded desperate and nervous.  Her floors were about to be sanded and refinished, and she needed someone to come in to paint a section of her house rather immediately after they were done.  This section included her bedroom, hallways, and stairwell.  They also had several wood doors stripped, which needed to be primed and painted.  The issue was that she was living at a neighbor's house during the floor refinishing, and she wanted her bedroom painted before she moved back in.  So, I swooped in and took care of this house in a few days with my entire crew. 


She started to prep the bedroom the day before we started by attempting to strip the wallpaper.  This wallpaper looked like decorative burlap.  After a full day, she only got about 6 feet removed, which you can see on the left side of the before photo below.
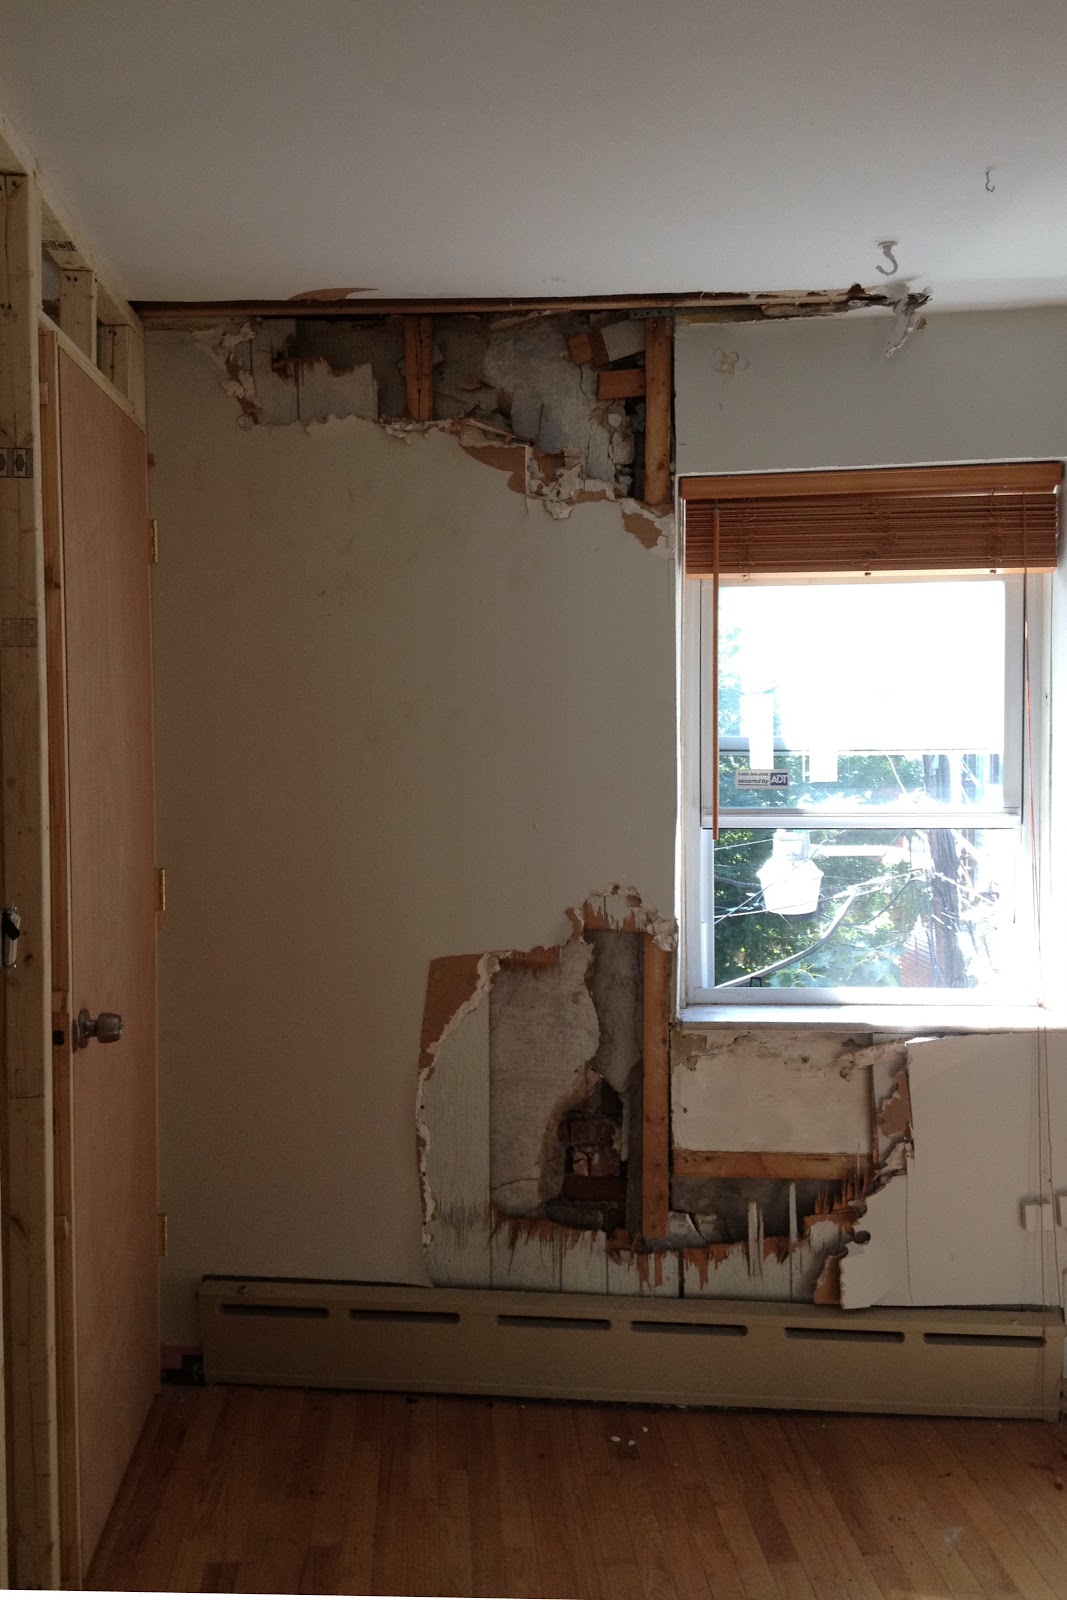
Bedroom before
We feathered in this seam, painted the ceiling, walls, interior of the closet, trim, baseboards, closet doors, and the 2 room doors. 

Bedroom after
 The second floor hallway had its challenges.  First being that the large stairwell and the woodwork was perfect.  We could not risk a single spec of paint dripping anywhere.  The photo below is before we covered the entire space with drop cloths.
2nd floor hall before
After repairing the damage on the plaster walls and ceiling, priming the closet doors, painting the ceiling, walls, trim, baseboards, interior of the closet, and the doors, the stairwell looked complete in the photo below.

2nd floor stairwell after
 The wallpaper in the 1st floor hallway matched the trim perfectly.  The butterflies were the same color of the amazing woodwork in this house.  But, there was some cool blue tones in the paper that you cannot see in this photo.  The homeowner did not like the cool blue with the newly refinished floors, so the paper had to go much to the chagrin of her husband.
1st floor hallway before
So, we stripped the wallpaper, primed the walls, repaired the holes and damage, painted the ceiling and walls, and make it look like the rest of the stairwell and hall.

1st floor hallway after
 
1st floor hallway after
Towards the end of this job, we realized that the homeowners were sleeping in their guest room, and the mad rush to get this work started was not as essential as we thought.  However, I know that they are happy to be able to sleep in their own bedroom tonight.


October 14, 2012

Major Drywall

I got a call from a friend of mine from college who is now living in London.  Her house in the Italian Market area needed some serious structural repairs, and she asked me for help.  I do not do the kind of work that she needed, but referred her to someone else.  Every once in a while, I get this kind of work that I cannot do, but a friend of mine is a general contractor from when we both had office jobs and hated our lives.  Now, we are living the dream in the construction business.  So, he got the job at this house, and, of course, hired me to hang the drywall and paint the entire house.

The problem with the house is that the 2nd floor was not supported by very much.  So, she had a steel beam installed between the kitchen and the dining room.  The kitchen ceiling was also re-framed.  Below you can see the framing around the steel beam, some damage around the column, and the framing of the kitchen ceiling (with some of the drywall going up in progress).

 Below is the completed work.


The general contractor also had the 2nd floor divided into 2 rooms.  Below is how it looked when I showed up.  There was terrible damage in the rear of the room and new framing for a small room with a closet.


We came in and repaired all of the damage, installed drywall to the room and closet, then painted the entire thing. 


Here is a view from the other larger room looking into the room above.
 

Again, new drywall and paint made everything complete.


September 30, 2012

Rafters

This was another case of simple redecorating.  The challenge was the multiple beams in the rooms.  They needed quite a bit of prep work.  The walls at the edges of the beams were cracking at all sides.  Fortunately, they were aesthetic and served no practical purposes.  So, we simply spackled and caulked the edges before we painted the ceilings, walls, and beams in these two rooms. 

Bedroom 1 before

Bedroom 1 after

Bedroom 2 before

Bedroom 2 after

View #2 of bedroom 2 before

View #2 of bedroom 2 after